
Uncategorized
From Upload to Press: How DTF Transfers Work at Southside Tees Local 391
Dec
DTF (Direct-to-Film) transfers make it easy to create professional-quality custom apparel without owning expensive printing equipment. Whether you’re running a small clothing brand, pressing merch for an event, or just making shirts at home, our process at Southside Tees Local 391 is built to be simple, reliable, and beginner-friendly.
This guide walks you through the full journey — from uploading your design to pressing your finished transfer at home.
What Are DTF Transfers?
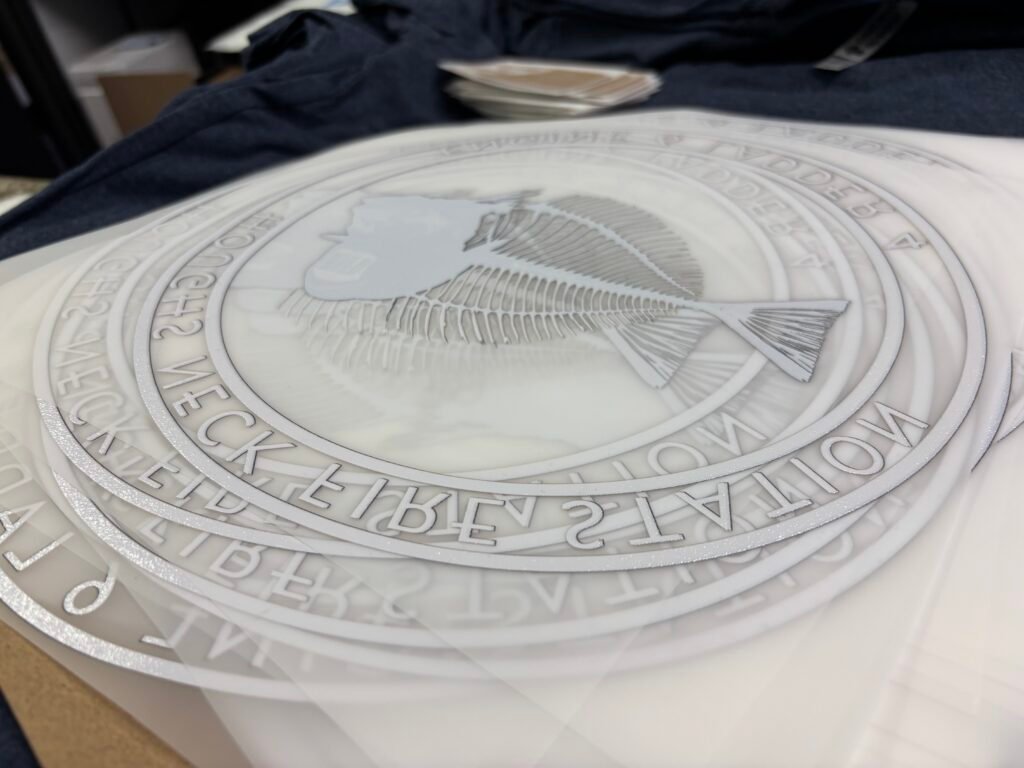
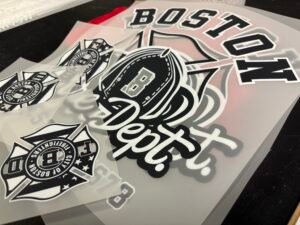
DTF transfers are full-color designs printed onto a special film using professional inks and adhesive powder. Once heat-pressed onto a garment, the design bonds directly to the fabric, creating a durable, vibrant print.
DTF works on:
- Cotton
- Polyester
- Blends
- Light or dark garments
No cutting, weeding, or pretreatment required.
Step 1: Prepare Your Artwork
Before uploading your design, make sure your file is press-ready. Clean artwork helps us deliver the best possible print.
Best practices:
- Use PNG format with a transparent background
- 300 DPI for sharp results
- Size your design to the final print size you want
- Avoid low-resolution screenshots or photos
Common issues we see:
- Solid backgrounds that should be transparent
- Artwork that’s too small to scale cleanly
- Blurry or compressed images

If you’re unsure of your artwork, our team can often catch and fix small issues before printing.
Step 2: Upload Your Design to Southside Tees
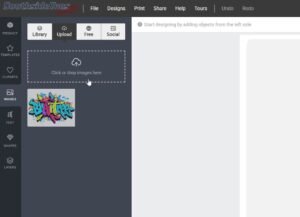
Uploading your artwork is quick and straightforward through our website.
You’ll:
- Upload your design file
- Select sizing or gang sheet options (if applicable)
- Choose quantity and place your order
Once your order is placed, our team reviews your file and prepares it for printing.
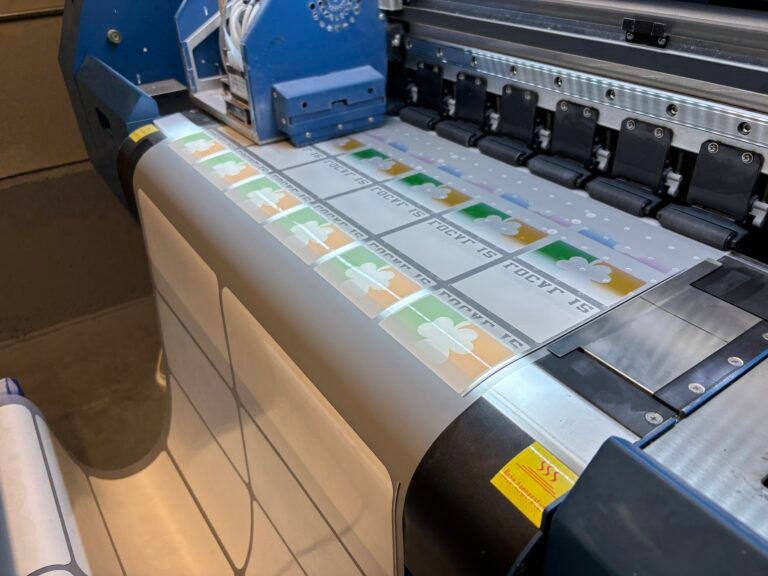
Step 3: How We Print Your DTF Transfers
We handle the production so you don’t have to.
At Southside Tees Local 391, your transfers are:
- Printed on professional DTF equipment
- Produced using vibrant CMYK inks with strong white coverage
- Carefully cured for consistent adhesion
- Quality-checked before shipping
Our goal is to send you transfers that are truly ready to press.
Step 4: Receiving & Storing Your Transfers
When your transfers arrive, they’ll be ready to use right out of the package.
Storage tips:
- Keep transfers flat
- Store in a cool, dry place
- Avoid moisture or extreme heat
Proper storage helps maintain adhesive quality until you’re ready to press.
Step 5:
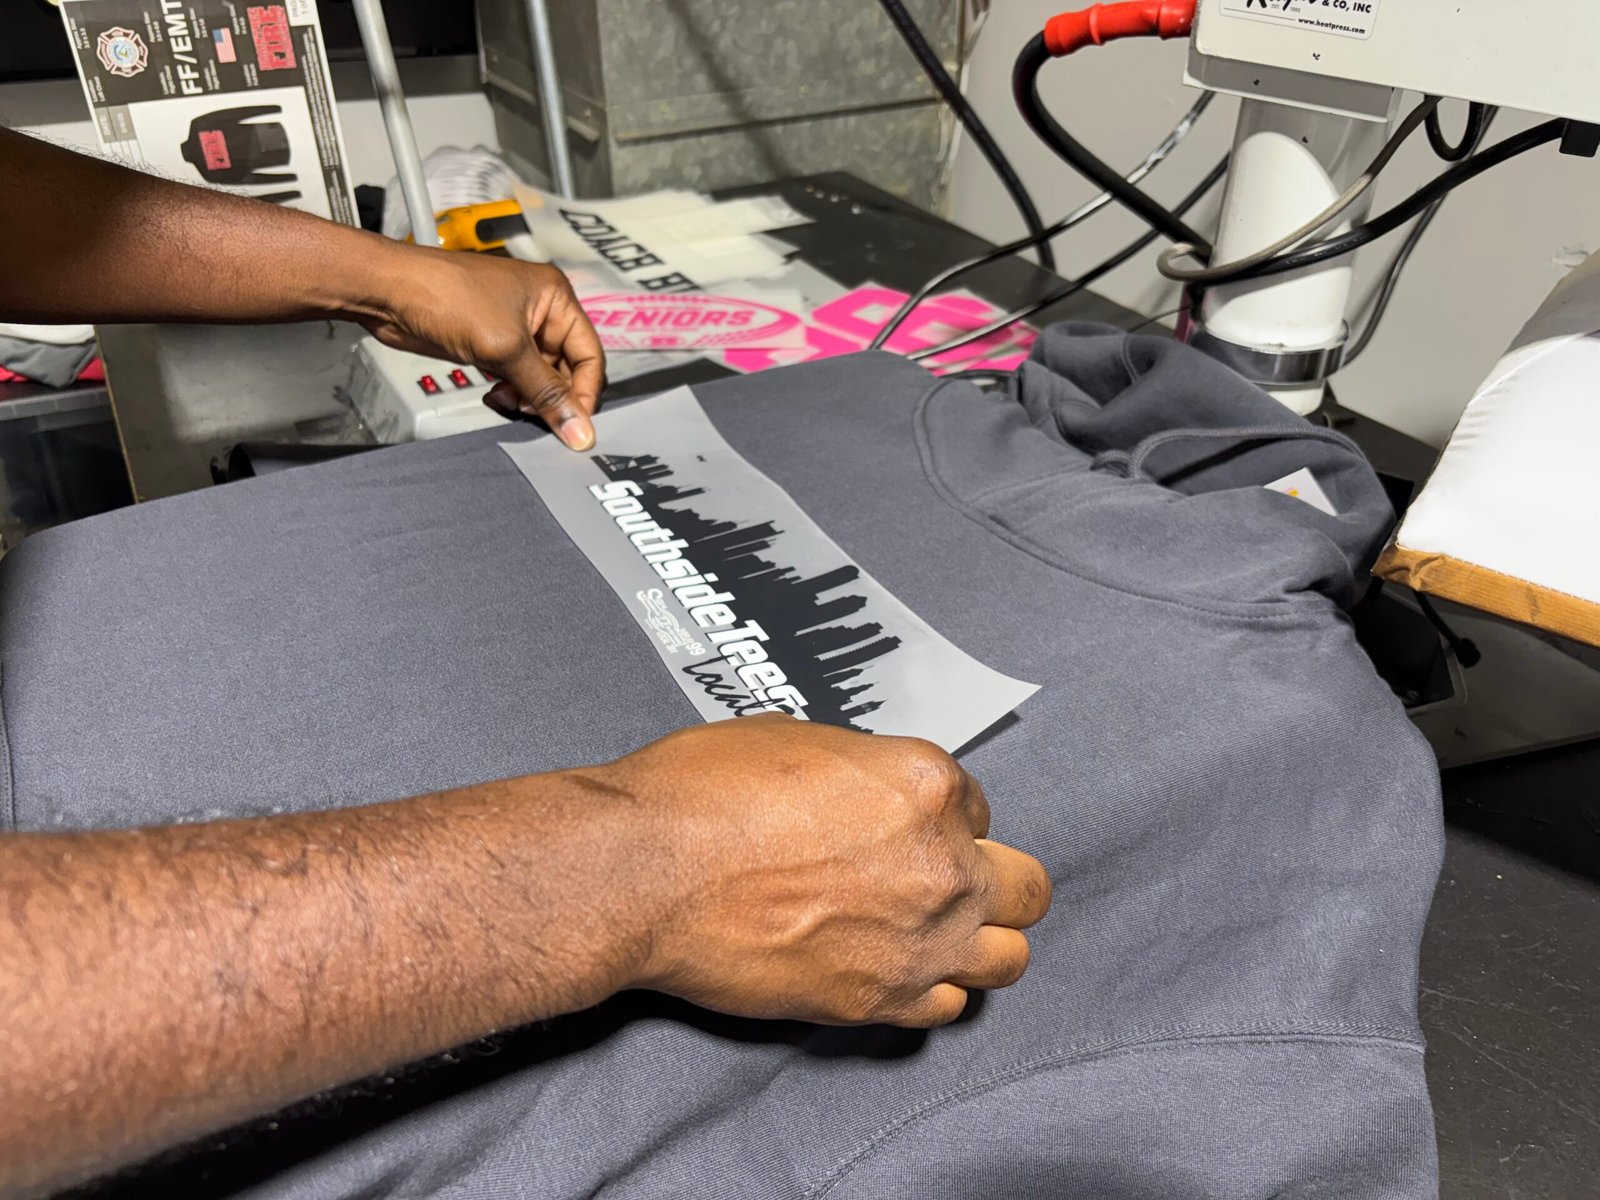
How to Press DTF Transfers at Home
Pressing DTF transfers is simple and works with most heat presses.
General pressing guidelines:
- Temperature: 300–325°F
- Pressure: Medium to firm
- Time: 10–15 seconds
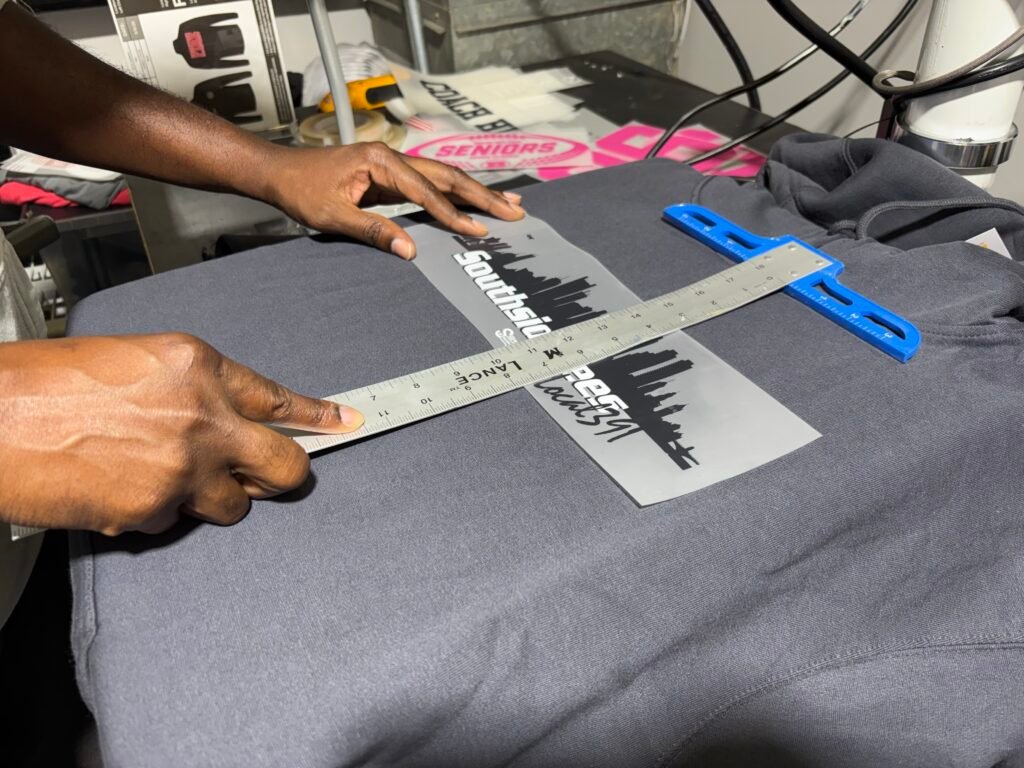
Pressing steps:
- Pre-press your garment for a few seconds to remove moisture
- Place the transfer ink-side down
- Press using recommended settings
- Allow to cool (if cold peel), then peel film
- Optional final press with parchment or Teflon for durability
Always test on a sample garment when possible.
Step 6: Caring for Your Finished Apparel
To keep your prints looking great:
- Wash garments inside out
- Use cold water
- Avoid bleach
- Tumble dry low or hang dry
Proper care extends the life of your DTF prints.